Building and Flashing
Building
As for the MBED CLI 2 documentation, mbed-tools command is used for the building, the outcome being as follows (if no modification is done):
This will update the cmake_build directory in your project
Flashing
The Nucleo board has two main parts: the programmer/debugger and the micro-controller. The programmer has the mini-usb connector while the micro-controller part is the one with the connectors. The micro-controller can be powered by external source (USB) or by a power supply (wires), while the debugger can be powered on only by the USB. The jumper JP5 near the reset button choses the power source for the micro-controller (E5V - via external or U5V - via usb).
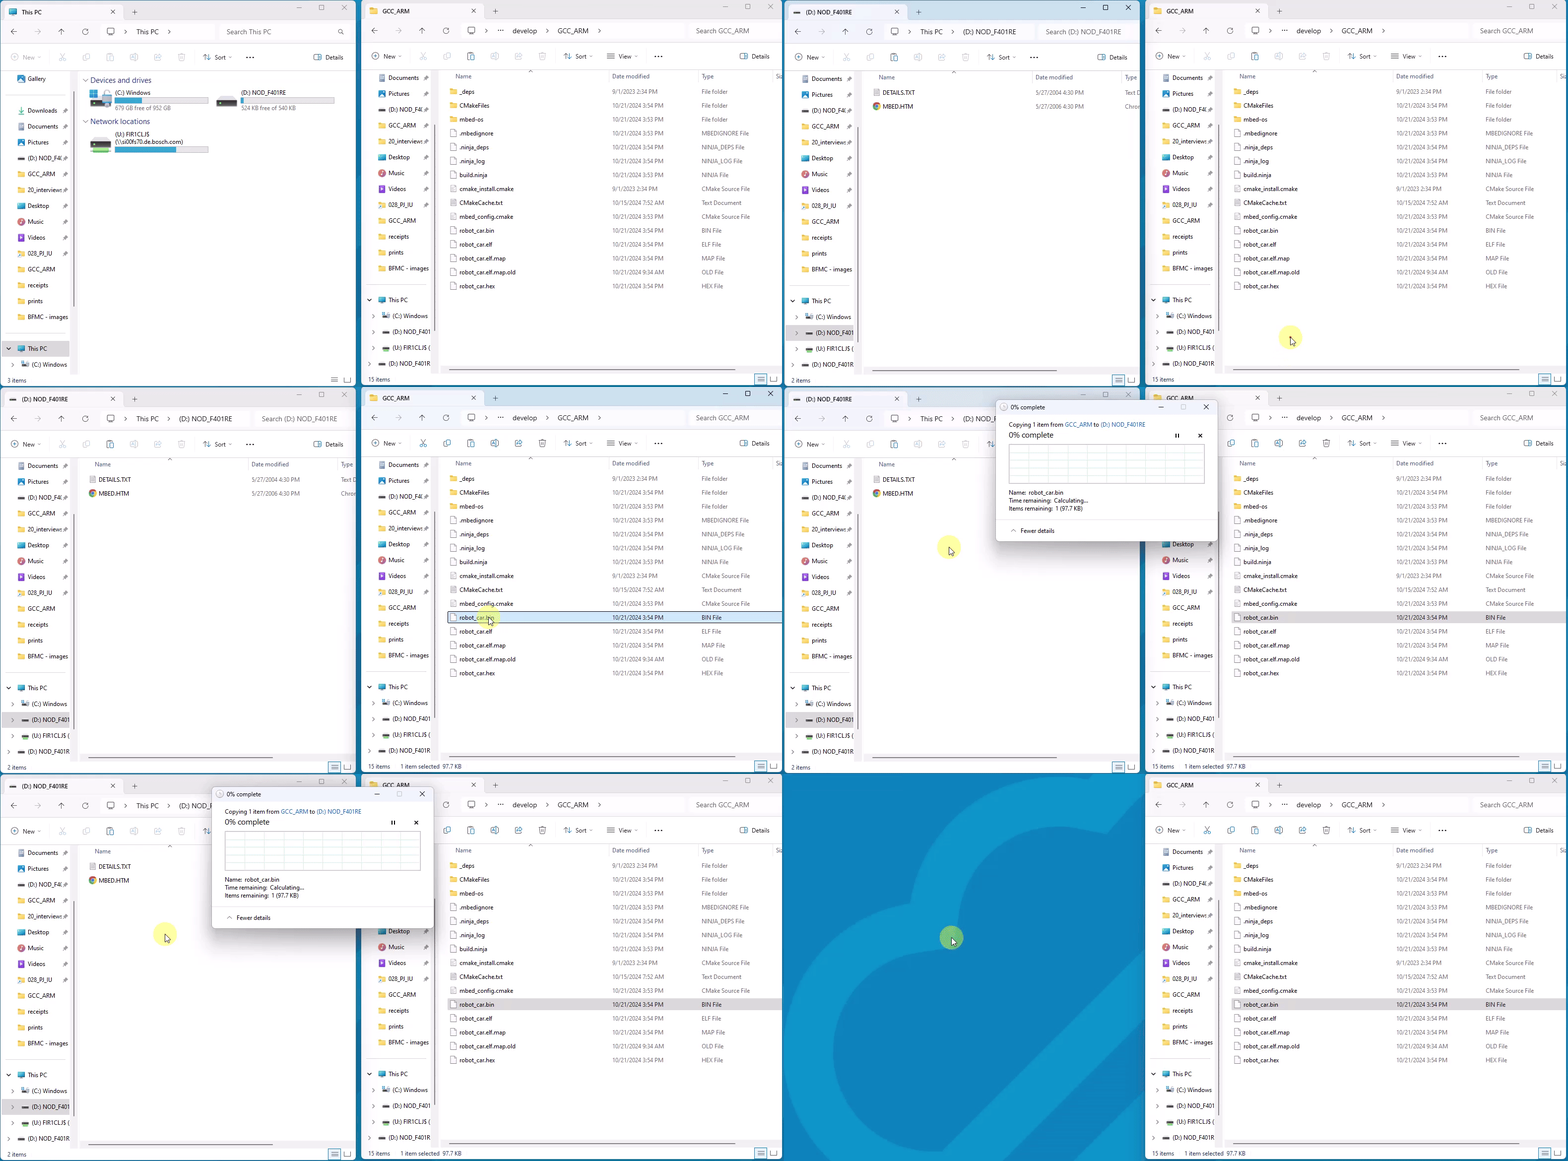
Connect the programmer to your computer (make sure the programmer and make sure the micro-controller are both powered on), and you will see a new Path in your file explorer, that being something like: D:Nucleo_F401RE. Simply copy the binary file from cmake_build\NUCLEO_F401RE\develop\GCC_ARM directory (mbed_robot_car.bin) on this path.

Another way to flashing your code on the car is to add a “-f” flag to the compile command (check the mbed cli 2 documentation)
During the flashing, the led of the programmer will flash alternatively with Green&Red light, staying still on red once it’s finished. At the end, the Nucleo will reboot and the code will be running on the board.