Connection diagram and components
-
The kit could use some mechanical adjustments, like height elevation, reducing steering limitations, reducing mechanical friction. All by following this guide
-
Details regarding the IMU boards (3 versions).
-
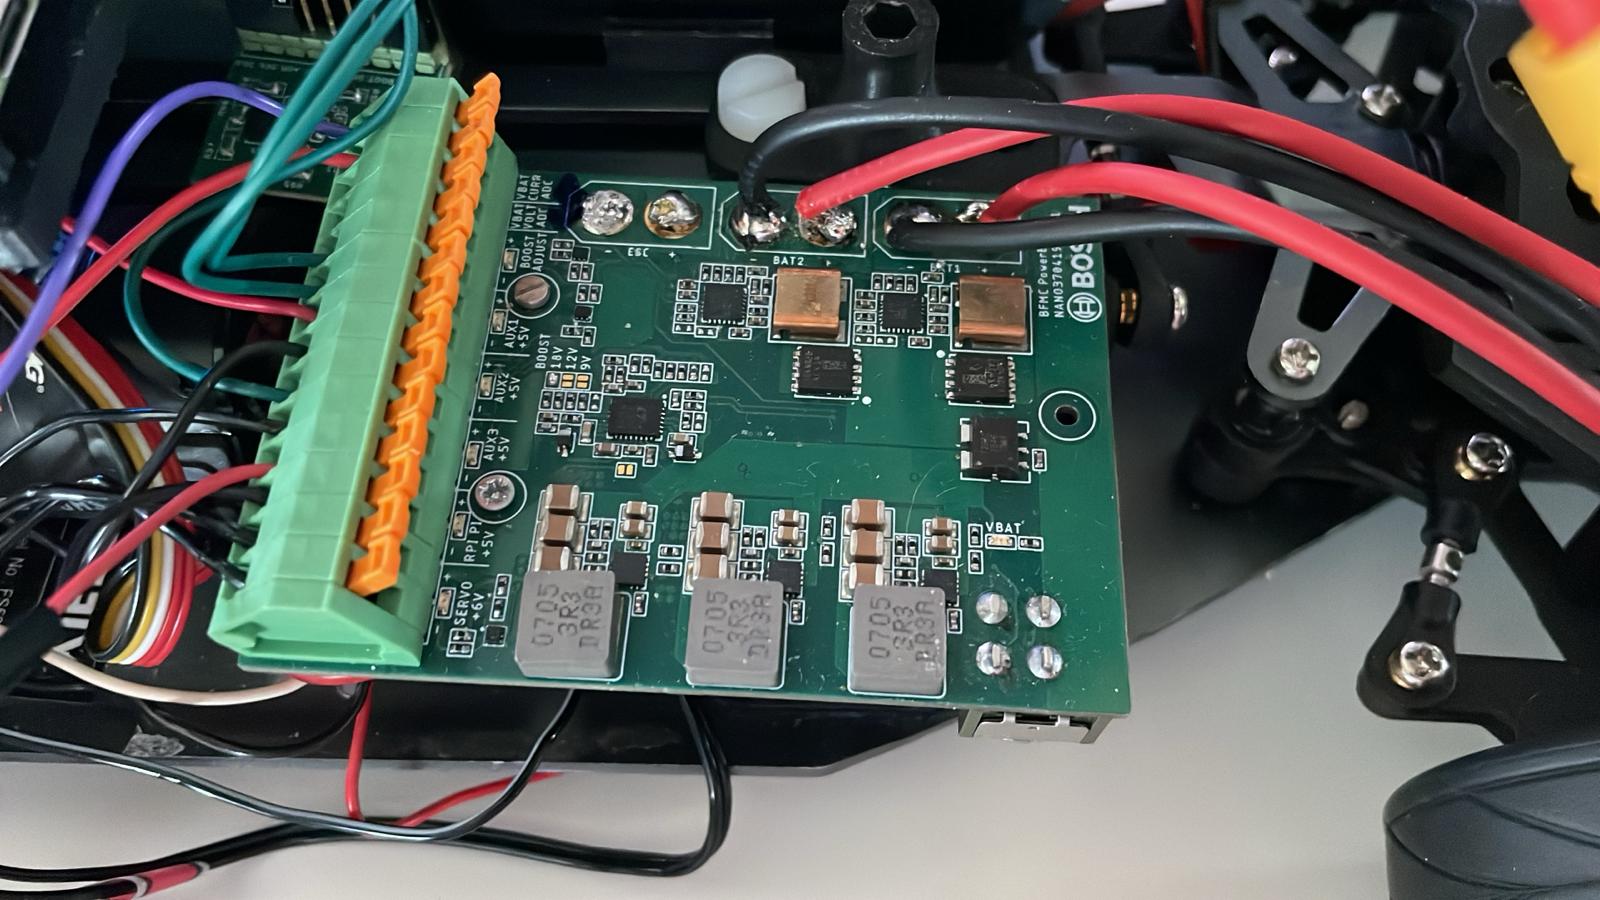
Details regarding the powerboard.
In this section, you can find all the topics related to the hardware of the vehicle, which is a 1/10 scale on-road chassis variant.
Each vehicle can come with various hardware small modifications, as it is designed for hobby usage.
Here’s the description of the car, with all it’s components:

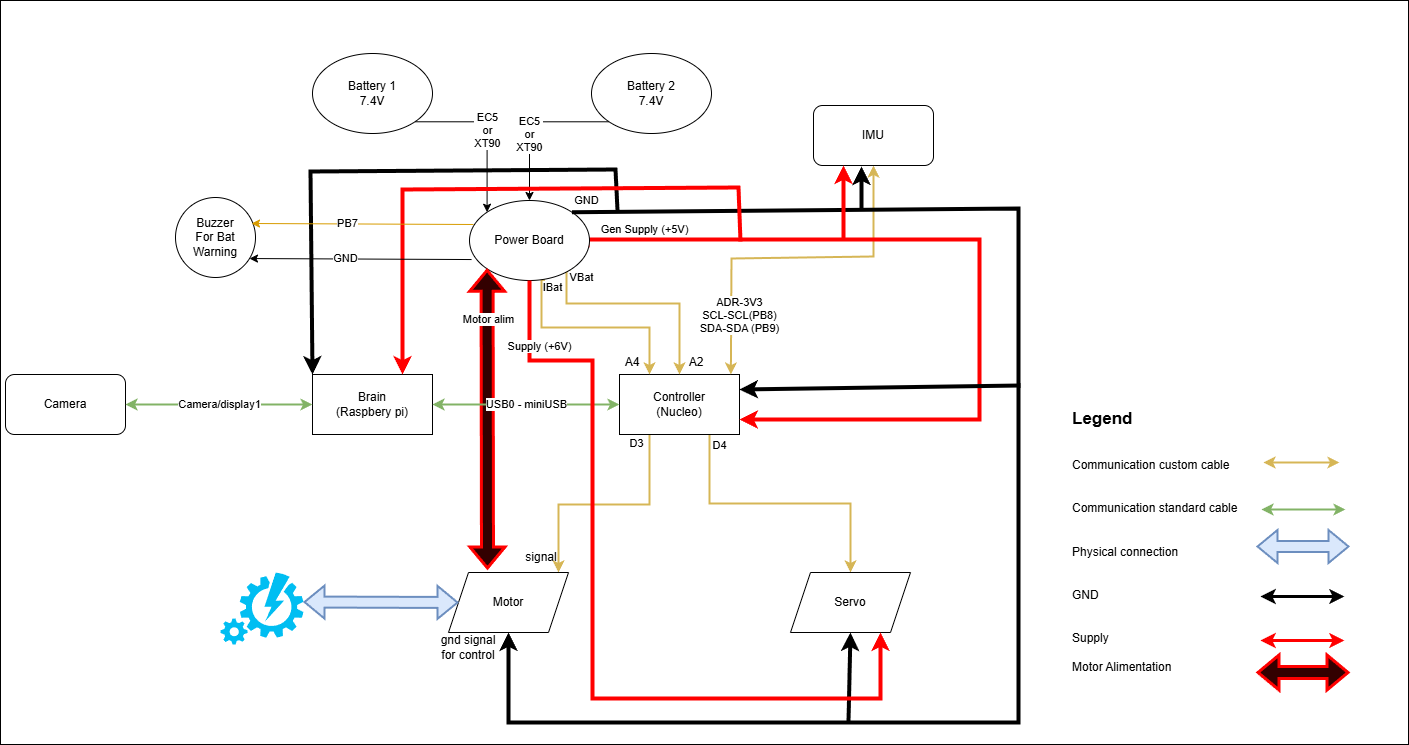
In the following schematics you can see the connections diagram of all the HW components of the car. The GPIO lines are marked on each component.
And here’s the table with all the components and all the needed details.
Product |
Description |
Quantity |
Mount Materials |
Price |
Others |
Picture |
|---|---|---|---|---|---|---|
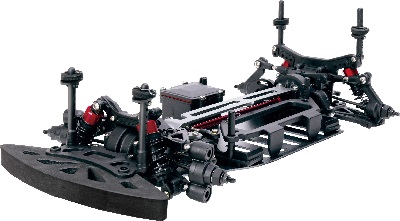
The base structure of the car. Model: Reely TC-04. |
1 |
Comes completely assembled. |
~€83 |
|
||
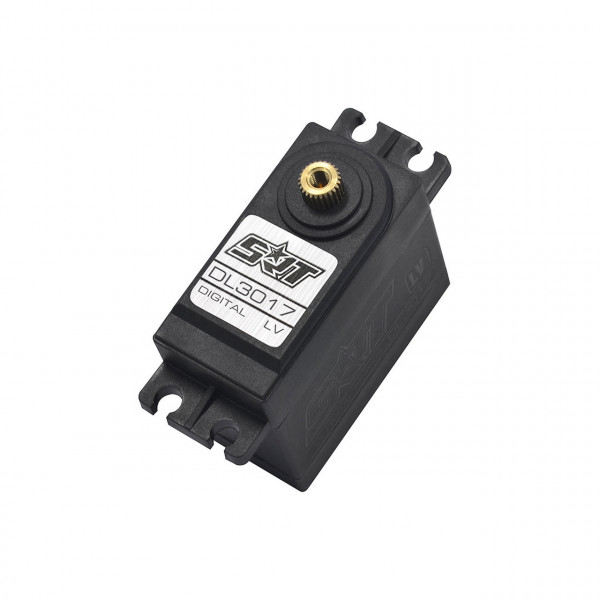
Actuator used for the steering mechanism. Model: RS-610WP (or similar). |
1 |
Comes with mounting screws + attachment horns. |
~€20 |
|
||
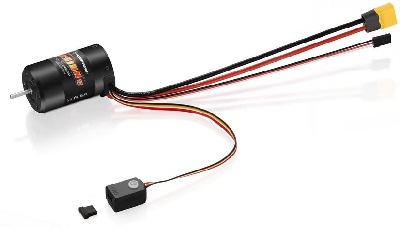
Brushless motor with integrated ESC. Controls vehicle speed. Model: Quickrun Fusion SE, 1200KV. |
1 |
2xM3x6 screws |
~€80 |
|
||
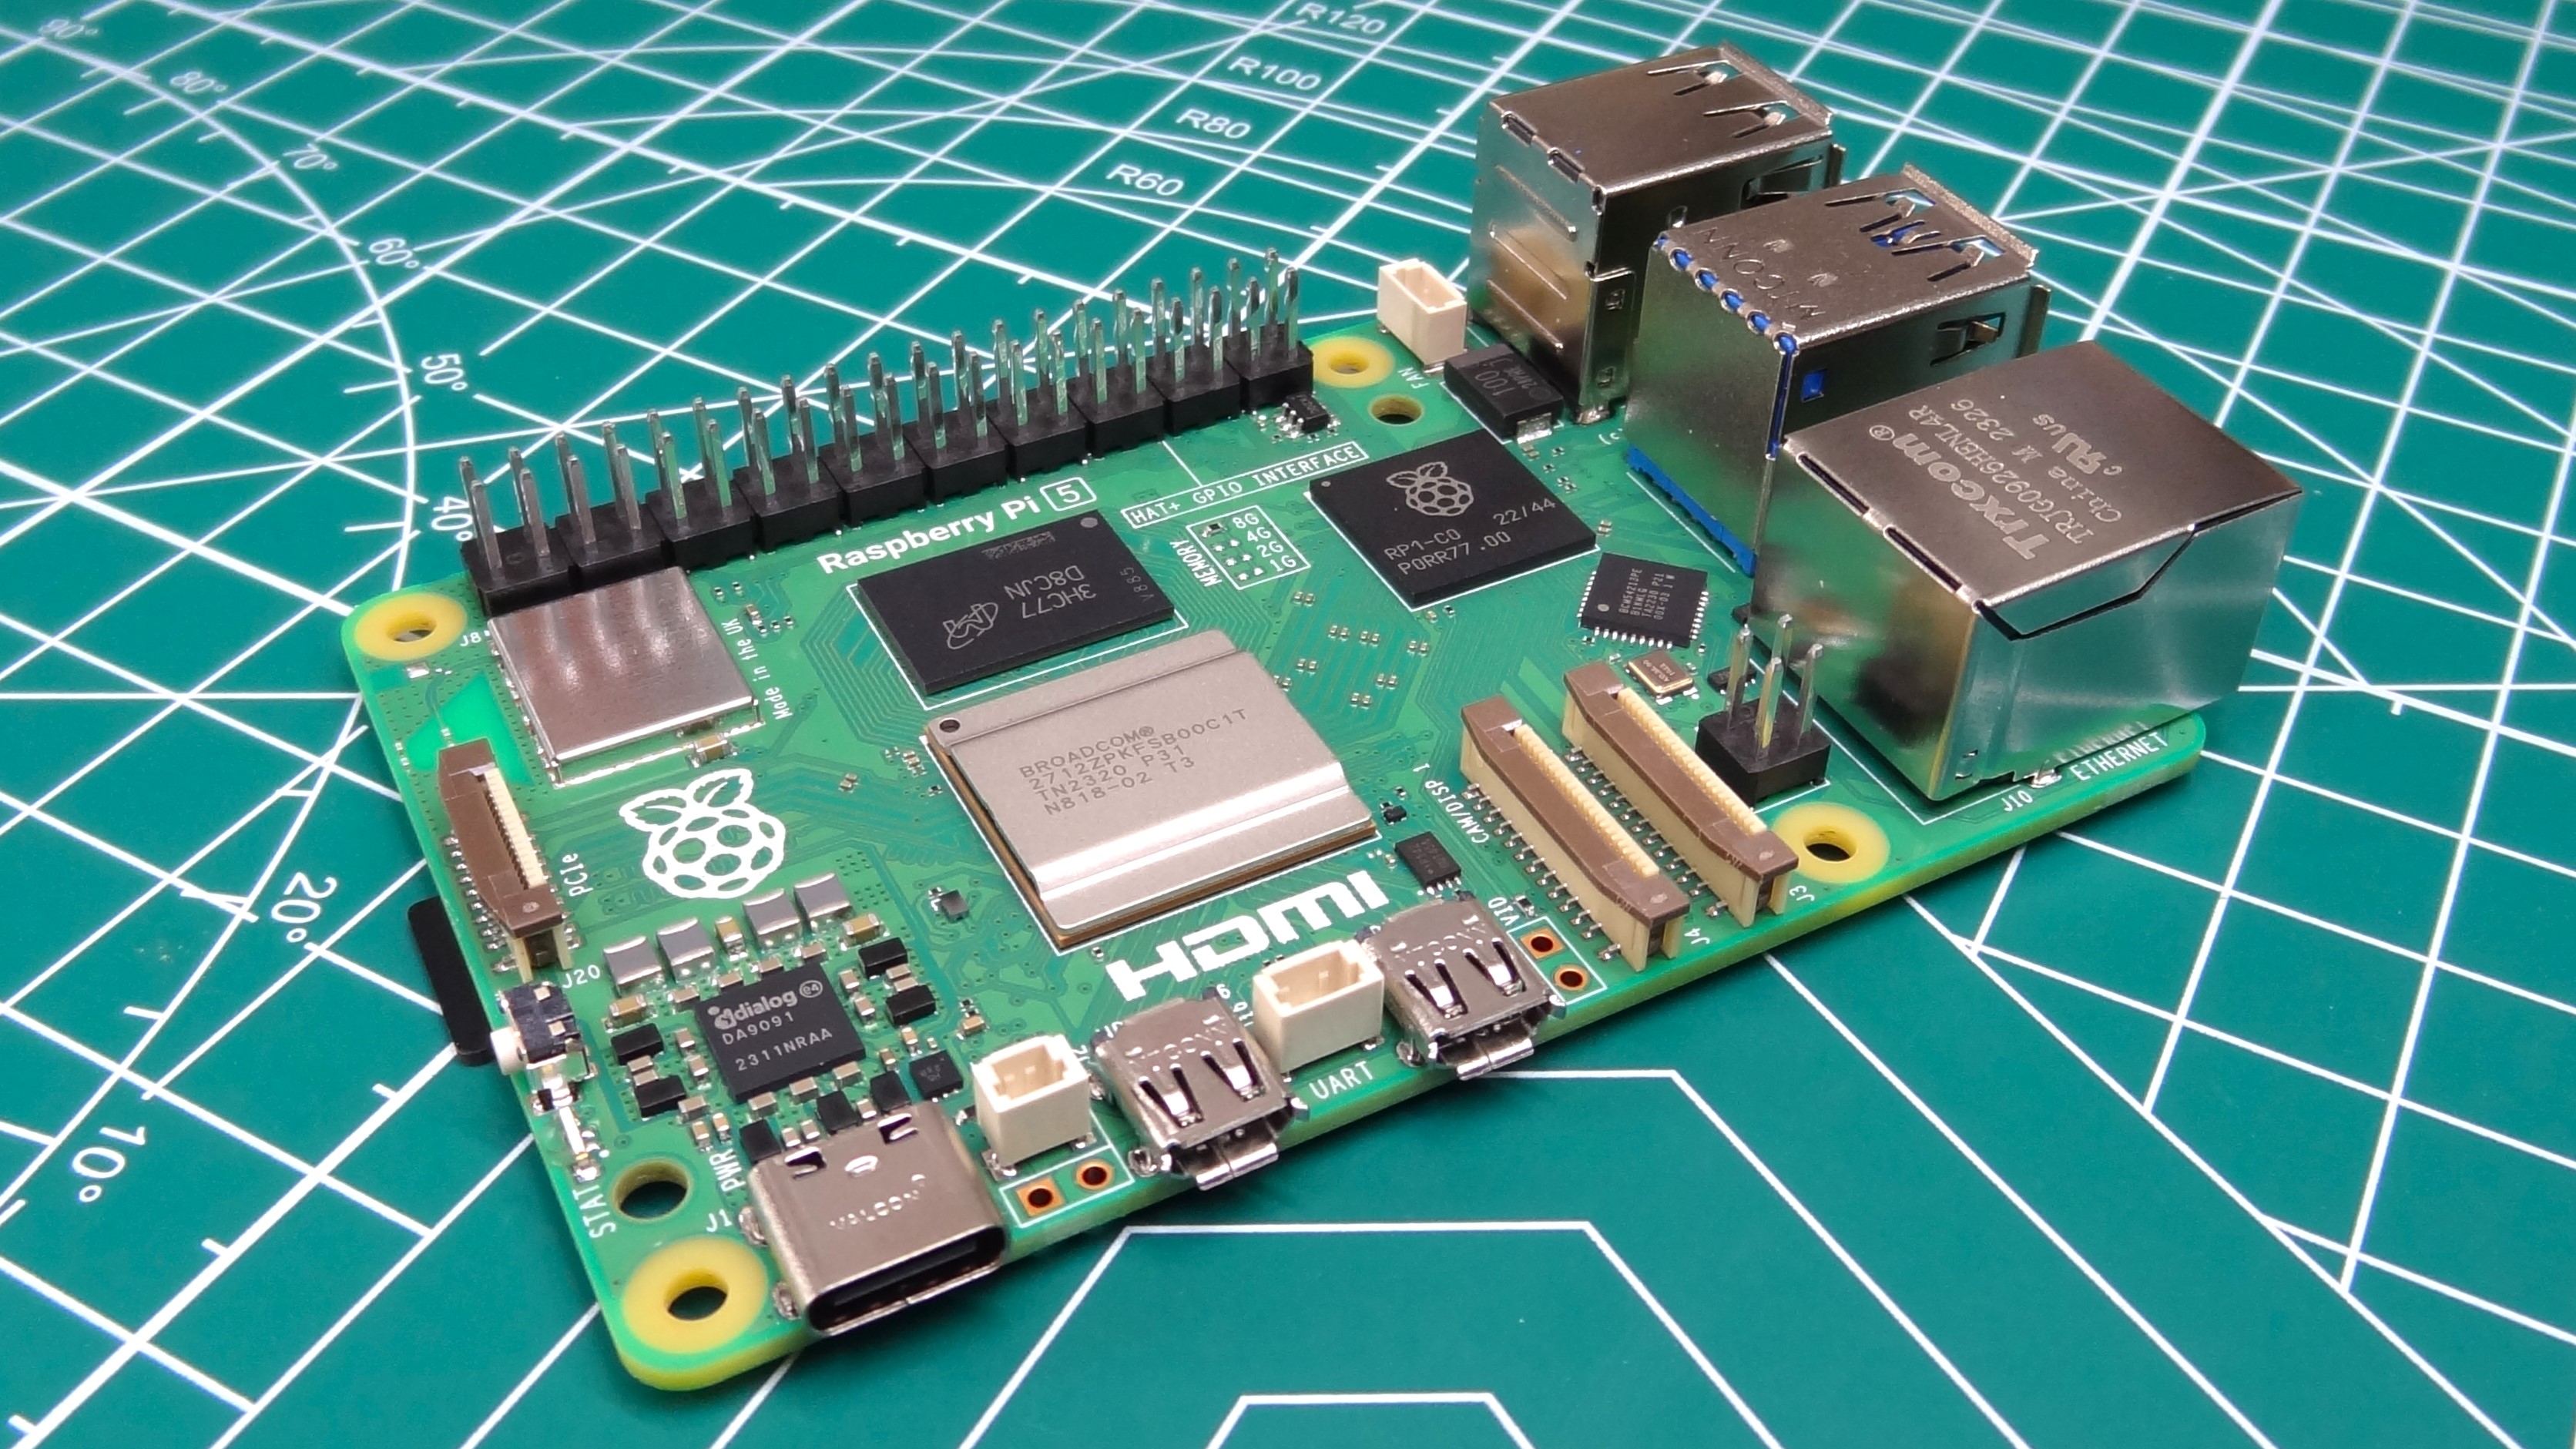
SoC for the autonomous logic. Model: Raspberry Pi 5 (8GB). |
1 |
2x m2x6 |
~€90 |
|
||
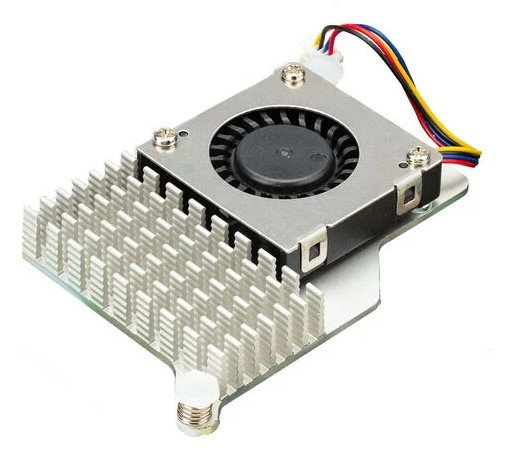
Active cooler for the Raspberry Pi. |
1 |
Comes with clips for mounting |
~€6 |
|
||
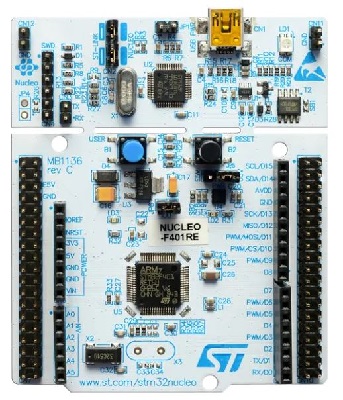
Microcontroller controlling motors and interact with sensors. Model: Nucleo F401RE. |
1 |
2x m3x6 |
~€21 |
|
||
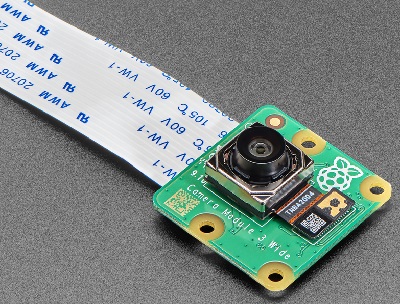
Monocular wide-angle camera. Model: Raspberry Pi Camera Module 3 (wide-angle). |
1 |
2x m2x6 + 2x nuts |
~€38 |
|
||
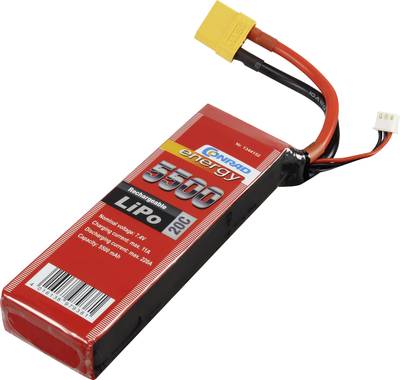
2-cell LiPo battery (4500–6200 mAh). Powers the entire vehicle. Though any LiPo with 2s should do. |
1 |
Attached to chasys with delimiters and clips. |
~€35 |
|
||
Custom power distribution board. Supports dual batteries (2s or 3s), provides left voltage and consumption feedback. power cut-off on specific output. Allows power reconfiguration on one output (9/12/18 V with 6A). |
1 |
2x 25mm spacer-nut + 2x m3 nuts + 2x m3 washers |
~€80 |
|
||
IMU board (3 variants). Provides 9DOF measurements (acceleration, gyro, mag). Model: Custom IMU board v1/v2 or Adafruit 9-DOF IMU. |
1 |
Duck tape |
~€25 |

|
||
Micro SD card. As the long time editable memory for the Raspberry Pi. |
1 |
sticks to the RPi |
~€5 |

|
||
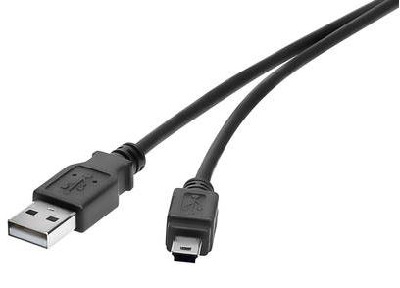
Cable for Raspberry Pi ↔ Nucleo communication (15cm). |
1 |
Goes inside the usb and mini-usb |
~€3 |
|
||
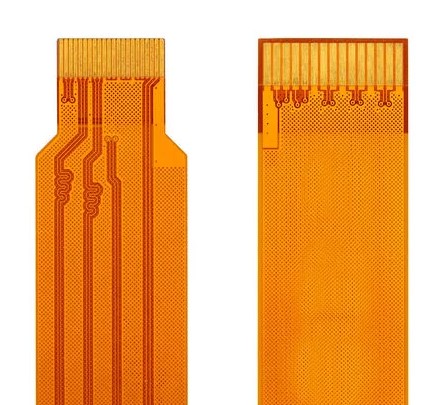
30cm Flexible cable for Raspberry Pi camera. |
1 |
Has specific slots on RPi and on Camera. Be careful when removing. |
~€1 |
|
||
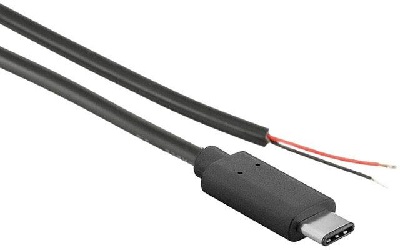
USB-C power cable for the Raspberry Pi. |
1 |
goes inside usb-c of rpi and inside powerboard. Keep under 10 cm length. |
~€3 |
|
||
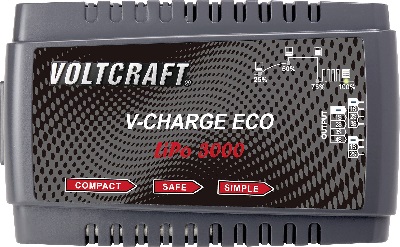
LiPo battery charger. |
1 |
N/A |
~35 |
|
||
Lexan car body (Lexus/BMW/Ford). Multiple color options. |
1 |
on the chassys pillars, held with clips. |
~55 |

|
And here are the 3d printed components for the car itself. Available also in editable format, as sldprt extension at this link: solid parts.
Table 2
Product |
Description |
Mount Materials |
Picture |
|---|---|---|---|
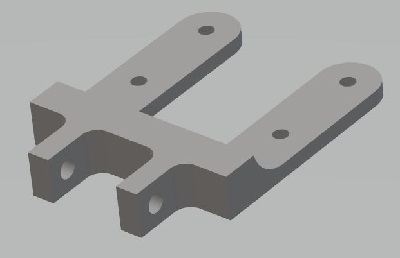
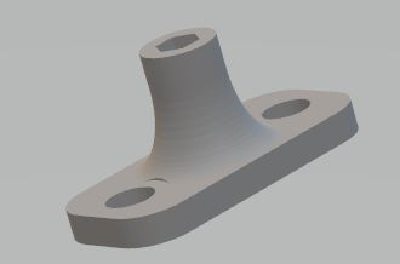
The support for Raspbery and Nucleo. |
spacer nut threaded rod + 2x m3 nuts + 2x m3 washers |
|
|
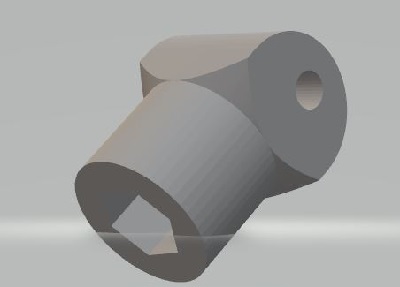
The camera support sitself. |
m2x20 screw + m2 nut |
|
|
The part that enables the rotation of the camera. |
2xM3 spacer nut 2xM3 nut + M3 threaded rod |
|
|
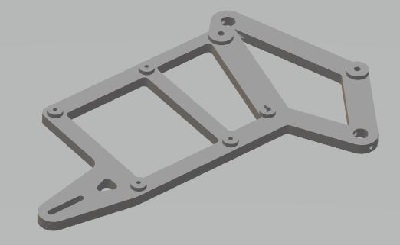
The part that fixes the entire assemble to the chassis. |
2x M6x12 poly screw+ 2x nuts |
|