Demo
-
How to set up your Raspberry Pi from scratch.
-
How the installed services work.
-
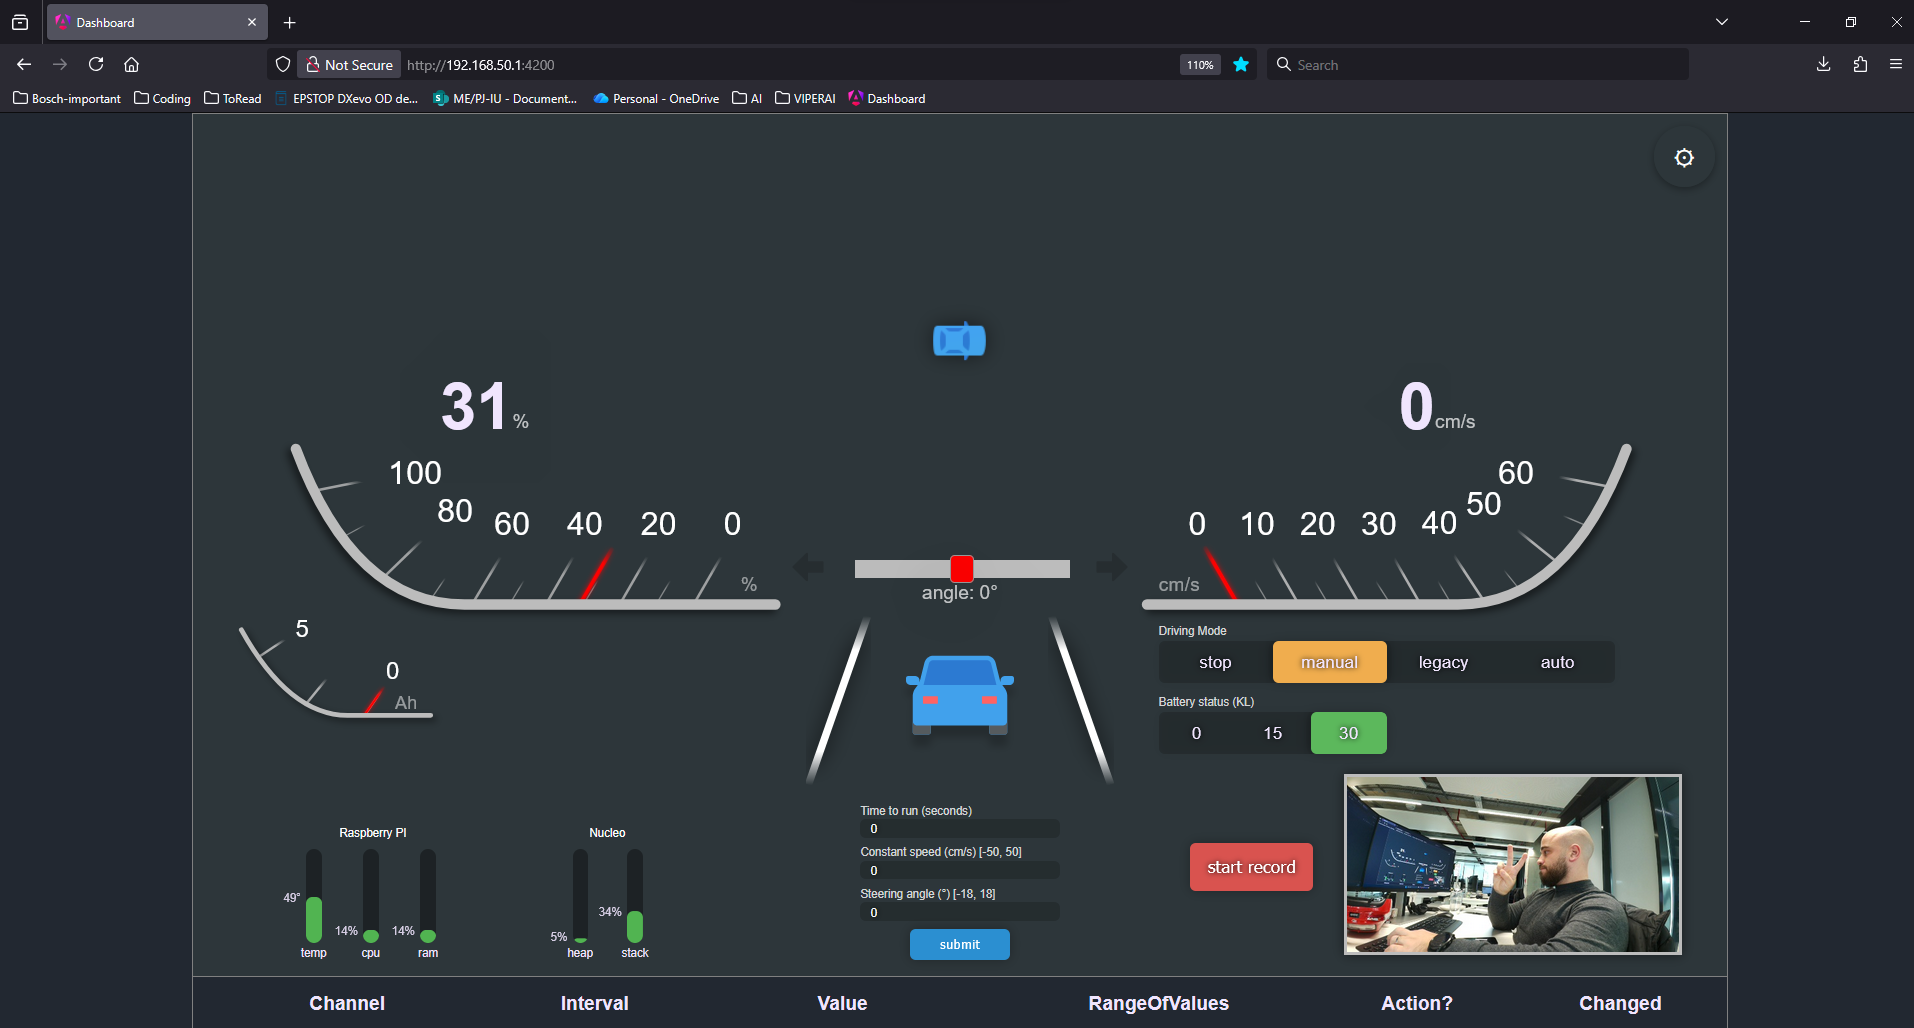
Overview of the dashboard and how to add/remove fields.
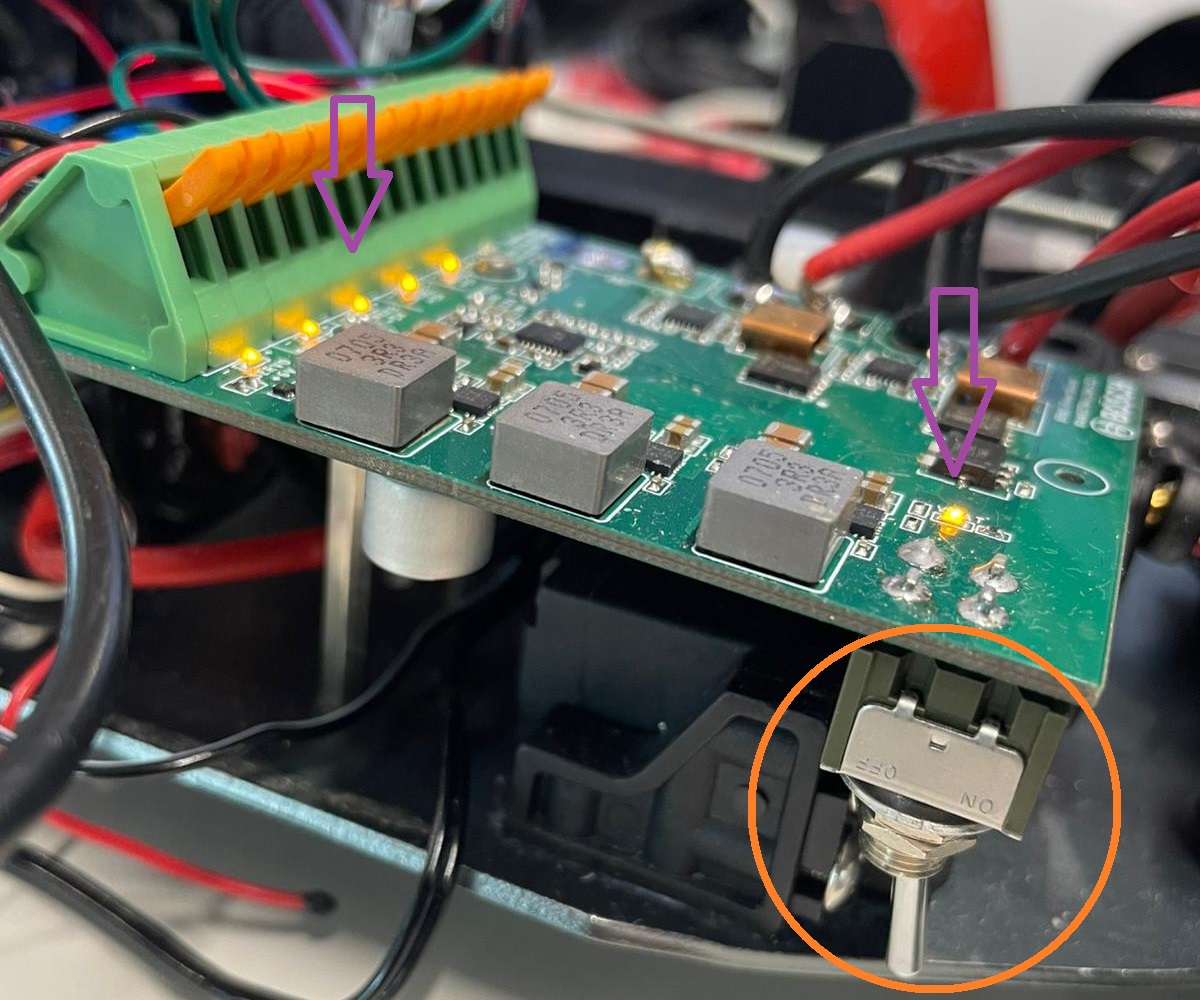
1. Power Up the System
Ensure the battery is connected to the power board.
Turn on the power supply using the switch.
The LEDs should turn on.
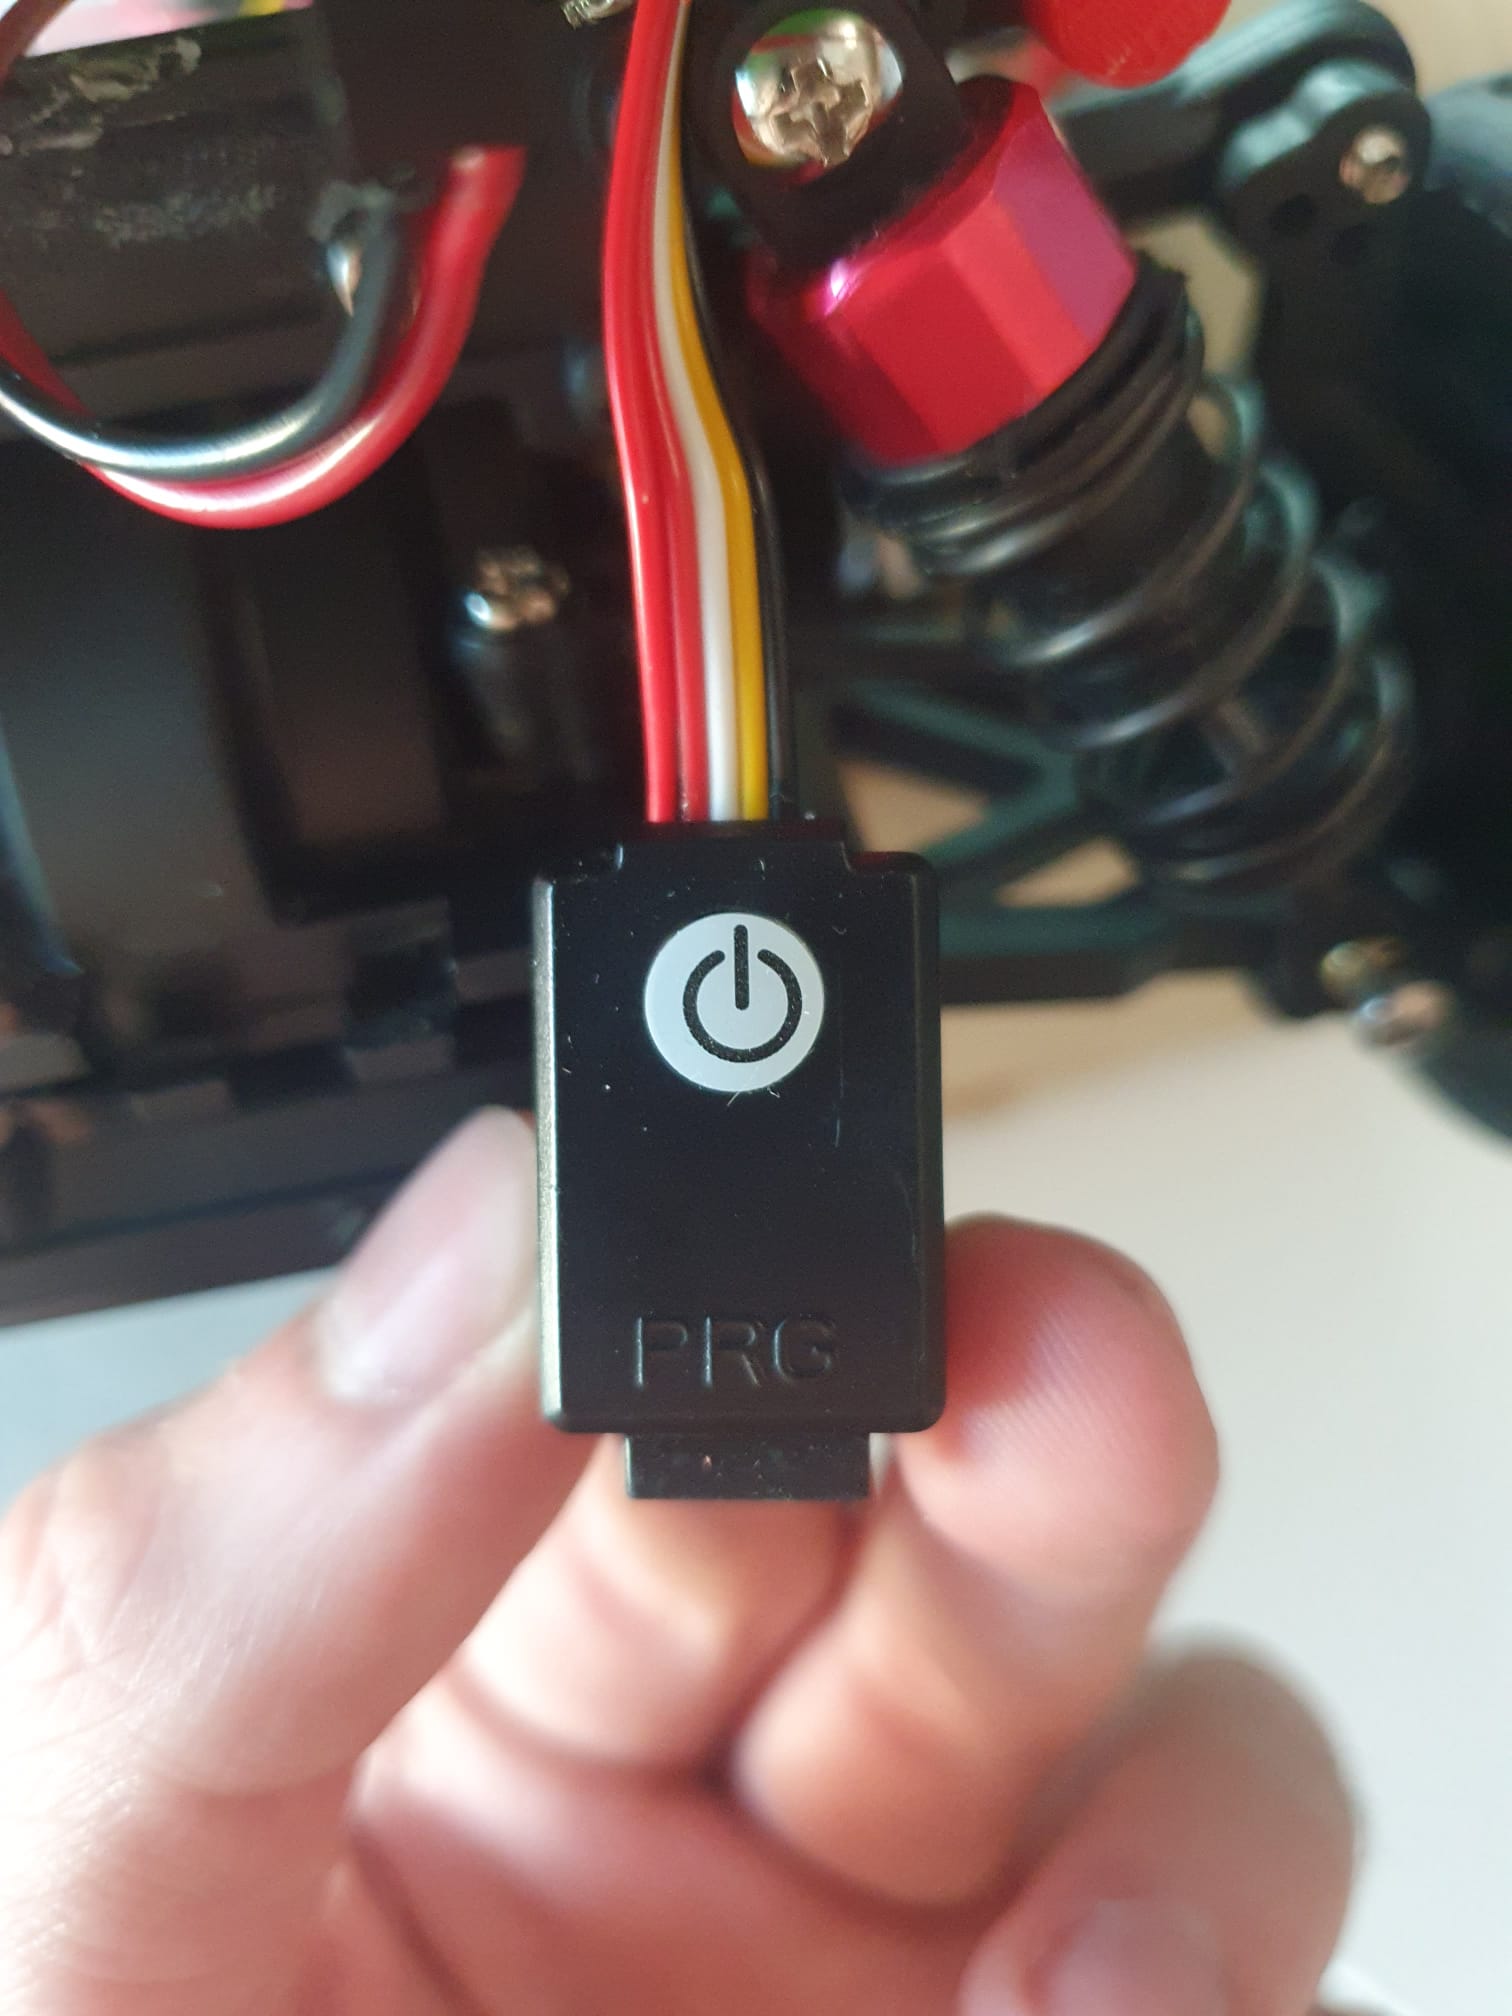
2. Power Up the Brushless Motor & ESC
Press the button once to start the ESC.
You should hear two short beeps (motor ready) followed by a slightly longer beep (ESC calibrated).
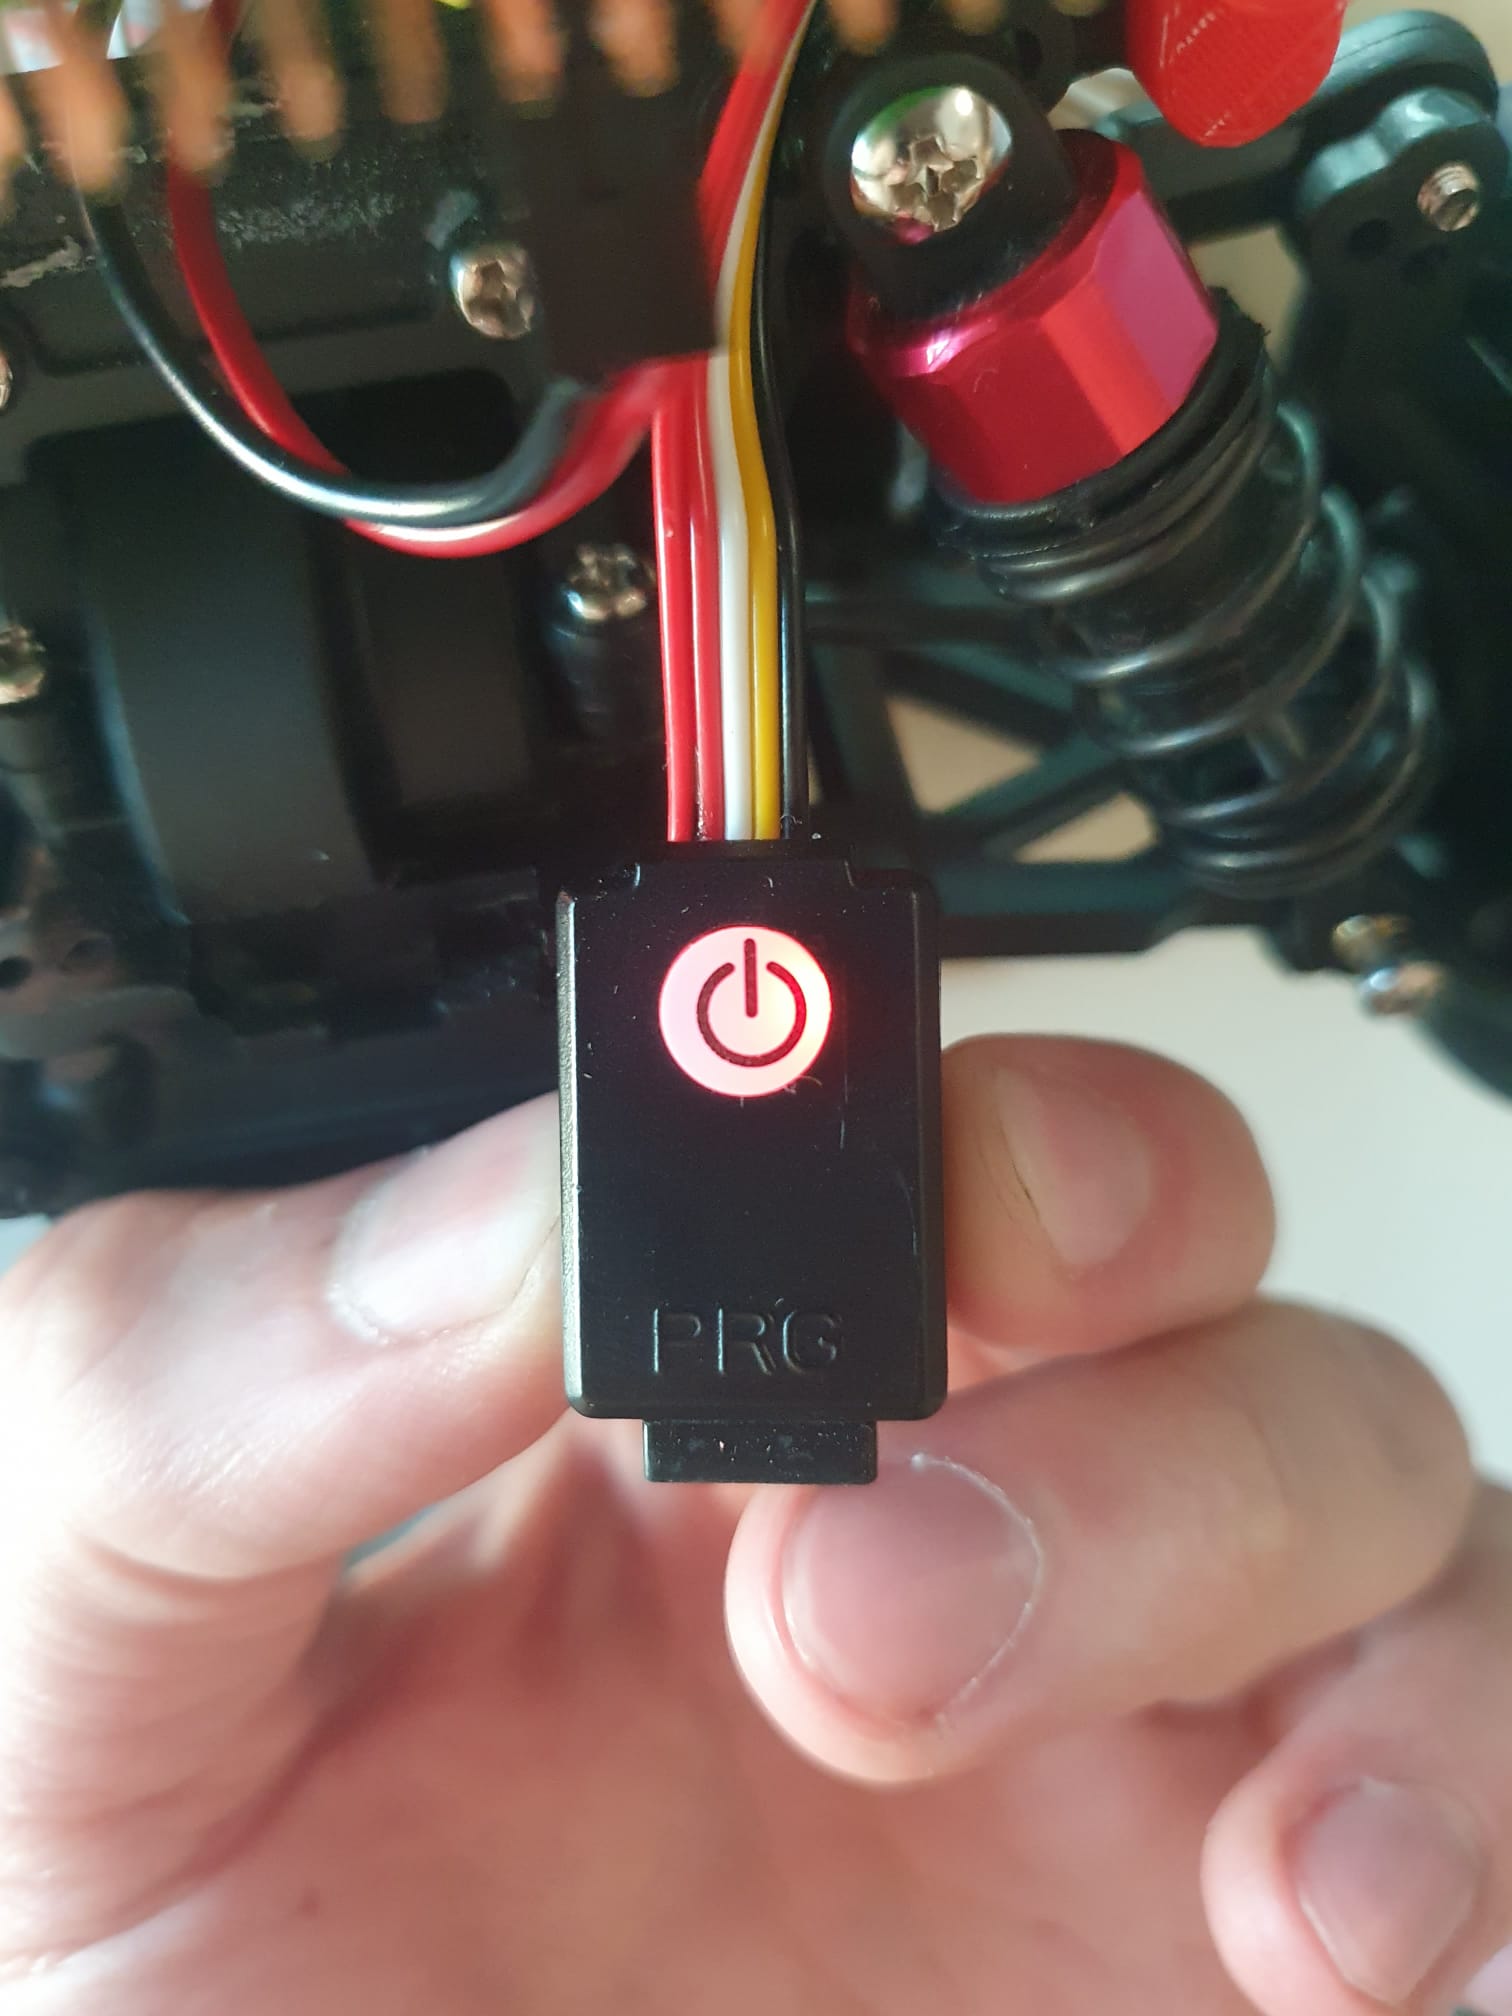
The button should begin flashing red.
|
|
3. Wait & Connect to Wi-Fi
Wait for the Wi-Fi network BFMCDemoCar to appear. (On first boot with our image, the Raspberry Pi may take longer than expected.)
Connect using the password: supersecurepassword
Or scan the QR code below (works on a phone as well):

4. Connect to the Frontend
Open any browser and go to: http://192.168.50.1:4200
Or scan the QR code:

5. Log In & Initialize
Wait for the “Backend connection lost” message to disappear. (The frontend starts immediately; the backend starts only after the webpage connects.)
Leave the password field empty.
Press Submit.
Close the “Security Setup Required” popup. It will reappear until you set a password in
src/dashboard/frontend/src/app/app.component.ts(line 50).To change the popup timeout, modify line 194 (value in ms).
To disable the alert entirely, set line 152 to False.
6. Explore the Interface
Set Battery status (KL) to: - 15 for sensor data - 30 for motor activation
Set Driving mode → Manual to control the car using the keyboard (the beeper should activate).
Drive using: W A S D + Space (brake).
To stop, set Driving Mode → Stop and Battery status → 0 (the beeper should activate again).